How to Set Up a Hornby Train Set for Beginners
Learn how to build your Hornby train set by following our step by step beginners guide. Get your first Hornby model railway started and set up first time using simple, easy to follow steps.
So, you've got your first Hornby train set or have purchased your first beginners model railway - likely a Hornby starter set. Not sure how to get set up and running your model trains?
To help you get started, we've used our extensive expertise, and many years of experience in all things railway modelling, to help you get your Hornby model railway set up correctly first time.
If you're still looking for the perfect beginners train set, or are simply not sure where to start, be sure to check out our comprehensive guide to the best Hornby train sets in order to help you get set up with minimal fuss!
This article is part of our beginners train set series, where you'll find helpful tips, tricks and expert recommendations on everything from the best wooden train set right through to the differences between DC and DCC model trains.
In this post we'll provide you with an easy to follow step by step guide to setting up your Hornby model railway. Let's get started.
Check the Box
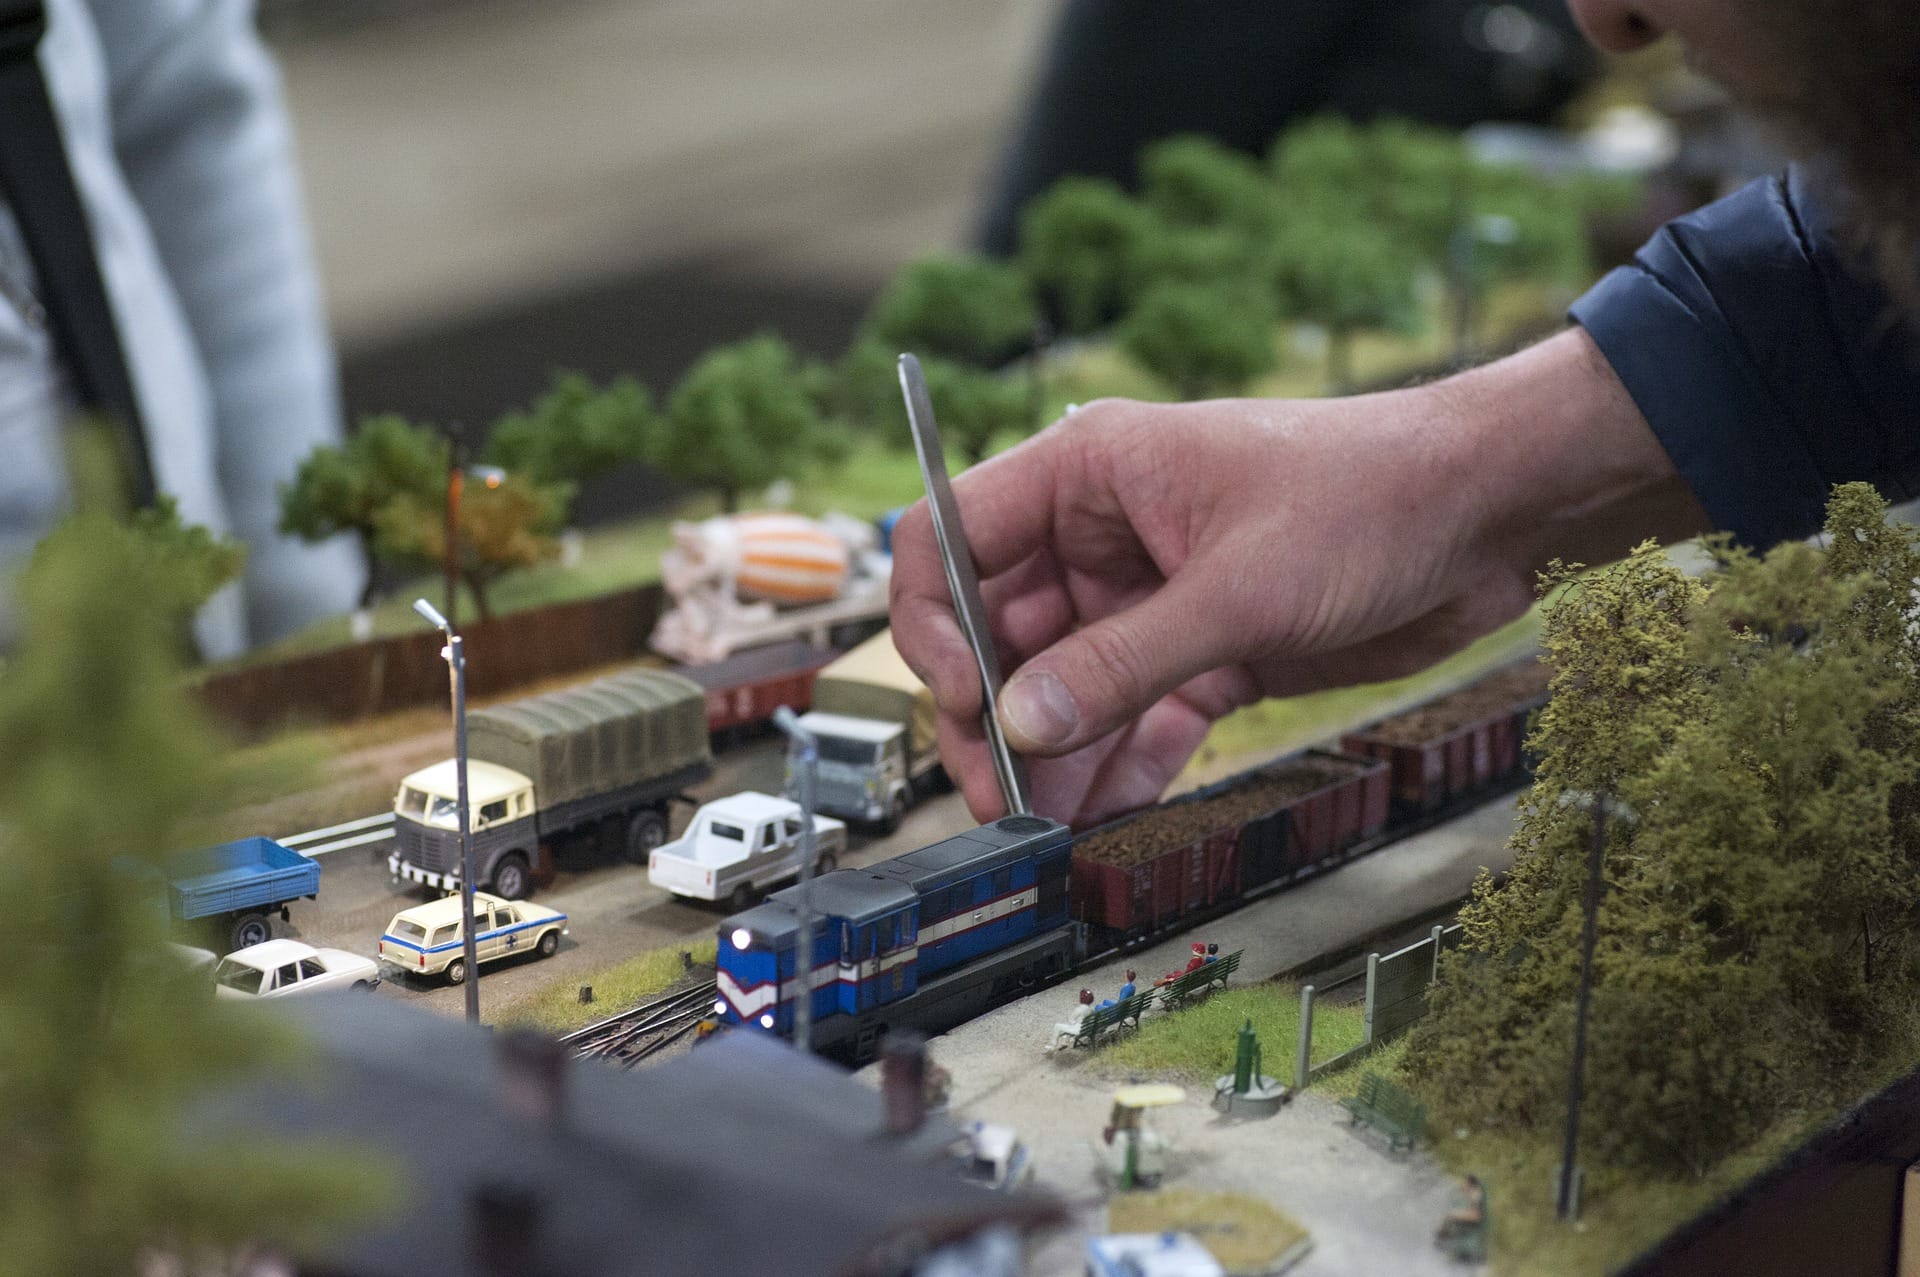
The first thing to do is open the box and check that you've got all the correct pieces and components - there's nothing worse than starting to build your Hornby model railway and then finding out that one of the track pieces is missing!
The vast majority of model train starter kits will be DC - this is the method used to power the trains. For more info on this see our article on DC vs DCC trains.
All of these sets will have the same basic components included:
- The track pieces.
- The rolling stock (the vehicles that run on the track - e.g. a locomotive and carriages).
- The electrical components - these provide the power and allow us to control the trains.
Some starter train sets, particularly those made by Hornby, may also have a track mat included. This isn't essential, so don't be concerned if this isn't included - it's essentially just a guide to assist you in placing the track down.
We would recommend taking a look at each of the parts and getting familiar with them first. It's not essential, and in our experience not many people do this, but we find that it helps getting acquainted with everything before diving in - it can certainly help you resolve any issues more quickly when building your train set.
Choose a Suitable Location
Next, you'll want to find the best place for setting up your model railway. You could choose a worktop, table, or the floor - the important thing is to choose somewhere flat, level and stable so that your track is not going to be move anywhere, and the model trains can travel freely around your layout.
Building your Hornby Model Railway
The first thing that you'll want to do is connect the track pieces together.
Connecting the Track
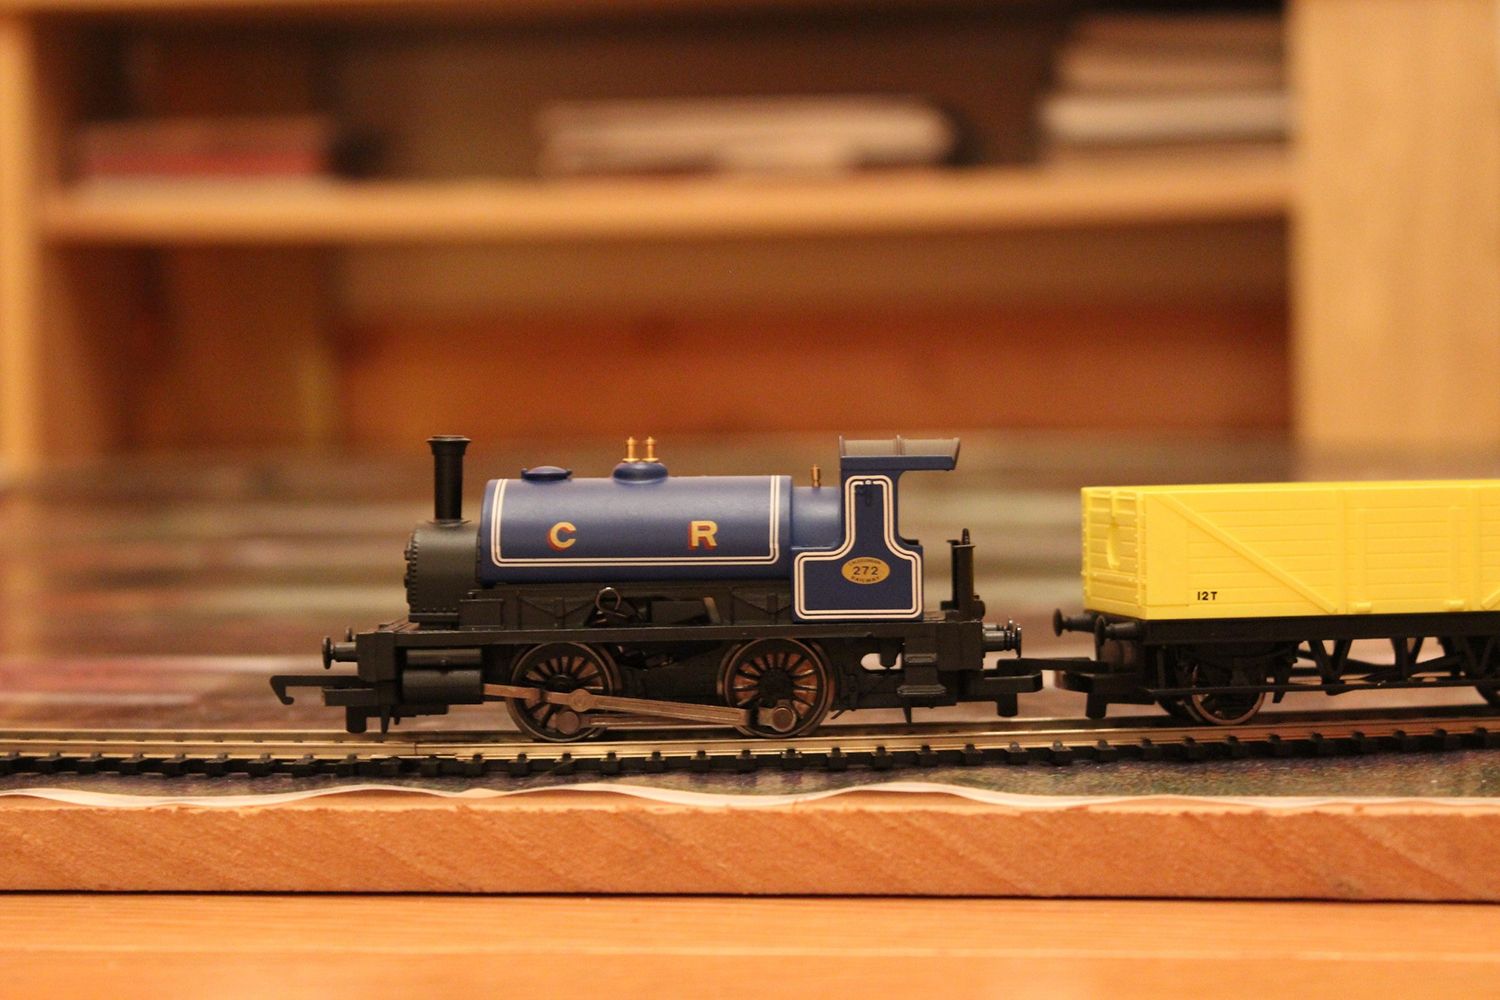
If you take a closer look at one of the track pieces you'll see that there are two rails protruding from either end. You'll notice that one of these is longer, with a very small clip sticking out.
Connecting Hornby track together is simply a matter of pushing the track pieces together securely so that the clip on one rail slides under the longer rail on the other section.
After you've connected each piece together you'll want to check for any gaps or ridges - you'll need the joins to be smooth to avoid the trains derailing. Simply run your finger over each join and if you feel something not quite right, gently pull the track pieces apart and then reconnect them securely.
Simply repeat the process for all of the track pieces until your track matches the layout displayed on the box. For most starter train sets this will be an oval.
Connecting the Power
Now that you've got the track built, the next step is to connect the power.
One of the track pieces will have a power clip attached. If not, you'll need to find this and connect it by sliding it between the sleepers (the black bars that the rails sit on) on part of the track. This needs to be facing outwards and, if possible, you'll want to position this near a wall outlet to make it easier to plug in.
Locate the controller - this is the box that has a dial on it that enables us to control the trains. There will be a lead with a two-pin plug coming from this. You'll need to connect this to the track clip by pushing the pins into the holes on the outer edge.
Lastly, simply connect the power cord into the controller and the opposite end into the wall outlet.
That's it, you're done!
Running Trains
Now you just need to carefully place the locomotive on the track, turn on the power, then turn up the dial on the controller. Your train should start to move in either a forward or backward direction.
The controller allows you to change the direction the train travels in. To alter this, slowly turn the dial all the way down until the train comes to a stop. Then, flick the direction switch and then slowly turn the dial back up to reintroduce power to the train. It will then be moving in the opposite direction.
Being a beginner, it's a good idea to take your train for a few circuits of the track to practice using the controller - try varying the speed and direction. Once you're comfortable with that you can connect the other rolling stock, such as the carriages, and have some fun running different model train scenarios.
Next Steps
Now that you've got set up, there's many directions which you can take to improve and expand your model railway.
You can add more scenery, locomotives, carriages, tunnels and buildings, or even create sidings and branch lines to allow your trains to branch off from the main circuit.
For most beginners, expanding the track is one of the first things that they do next. This allows you to make a bigger circuit, so you can create some more variety in the track layout. Our recommendations for the best track expansion sets would be either the Hornby Extension Pack C or the Expansion Pack B - both of these also include a set of points, which allows you to create a separate branch line or siding off your main circuit.
If you'd like even more variety there's the Hornby Expansion Pack D which includes a double-track level crossing, allowing you to incorporate some road vehicles and further increase the variety of your model railway layout.