The Best Papier Mache Recipe for Realistic Model Hills and Scenery
Build realistic landscapes for model railways and wargaming boards using this durable papier mache recipe to create model hills and mountains. Follow this guide to improve the quality of your model scenery using paper mache.
Quality model scenery is an essential part of producing realistic landscaping for model railways, wargaming, and many other hobbies.
Whether you're just getting started producing your own model scenery - or are an experienced model railway engineer or wargaming hobbyist - then the chances are that you'll need a simple and effective way to make hills and mountains for your model train layout or wargaming board.
One tried and tested method for doing this is through the use of paper mache. In this article, we'll guide you through building model scenery using a papier mache recipe that's proven to be reliable in achieving high quality, strong, and durable landscapes.
What is Papier Mâché?
Papier mâché (sometimes called paper mache) is a popular method in crafting that uses paper and adhesive paste to create a wide range of objects. The name literally means "chewed paper" in French - referencing the technique required for any paper mache project.
The basic process for creating paper mache involves layering moistened paper onto a blank support surface such as a baloon or chicken wire base. The adhesive applied to the paper acts as a binder and as this dries the overall structure hardens allowing it to be finished or painted afterwards.
The craft of paper mache has been around for centuries and is hugely popular due to its affordability and simplicity. Fundamentally, the only items you need are recycled paper and a basic paste to create a wide variety of scenery items for a model train layout or wargaming board.
Papier Mache for Model Railways and Wargaming Boards
The papier mache recipe that we'll be describing in this guide is perfect for creating great-looking landscapes on model railway layouts and scenery on wargaming boards.
However, before we get started it's important to understand what this recipe is used for and how it contributes to creating model hills and scenery. It's not used to create the body of the hills and mountains; rather it's the outer layer that you apply to a structure that you've already constructed.
Firstly, you'll need some newspaper. Always choose fibrous paper - you can tell it's suitable if you see fibres when it's ripped or torn. Basic newspaper is best and achieves the most consistant results. Glossy magazine, printer or photo paper won't work.
After you've got the paper, tear it into strips (or squares if you're working on smaller detail areas). It's always better to tear it rather than cut it with scissors - the rough edges will allow the strips to more easily blend into each other, giving the structure a better surface on which to apply a finish.
You'll need a large amount of these paper strips. A rough guide is to have somewhere between 20-30 strips for an area of about 0.5ft2.
Next, we'll make the paste. Many online guides to creating papier mache recommend using water mixed with just flour. Whilst this is adequate for kids crafts or basic structures, it does not always result in durable scenery for model railways or wargaming. In these cases, it's better to use white PVA glue in addition to the flour. This will produce a finish that's far more durable, less prone to cracking, rotting and breaking - an essential point for model train layouts where we need to build scenery that will last.
How to Make Papier Mache for Model Train Layouts Scenery
Let's take a look at the best recipe for making papier mache for hills and landscapes on model train layouts:
Using a whisk (or similar), mix the water, white PVA glue and flour together using a 2:1:0.5 ratio. Don't worry if you make too much - it can be stored in a sealed container and it will last for up to a few weeks.
Once you've made the paste, spread some over the underlying structure. Any paint brush can be used for this - you don't need to purchase a special brush - simply use what you already have and just paint it on.
Turning your attention to the paper, dip each strip into the paste mixture and then lift it out.
Drape the paper strips over the structure until it's covered. Don't worry if some of the paper drops down between the gaps in the base structure - simply apply more paper until you have the desired shape that achieves the asthetic that you're going for.
Essentially, that's it for the paper mache recipe. It's simple, effective, and has proved to be quite versatile for producing model hills and landscapes across a number of our model train layouts.
Afterwards, you should leave your papier mache structure for around a day to allow it to fully dry. This is very important to ensure the finish that you put on afterwards will apply correctly and achieve a good result.
Apply Static Grass to Papier Mache
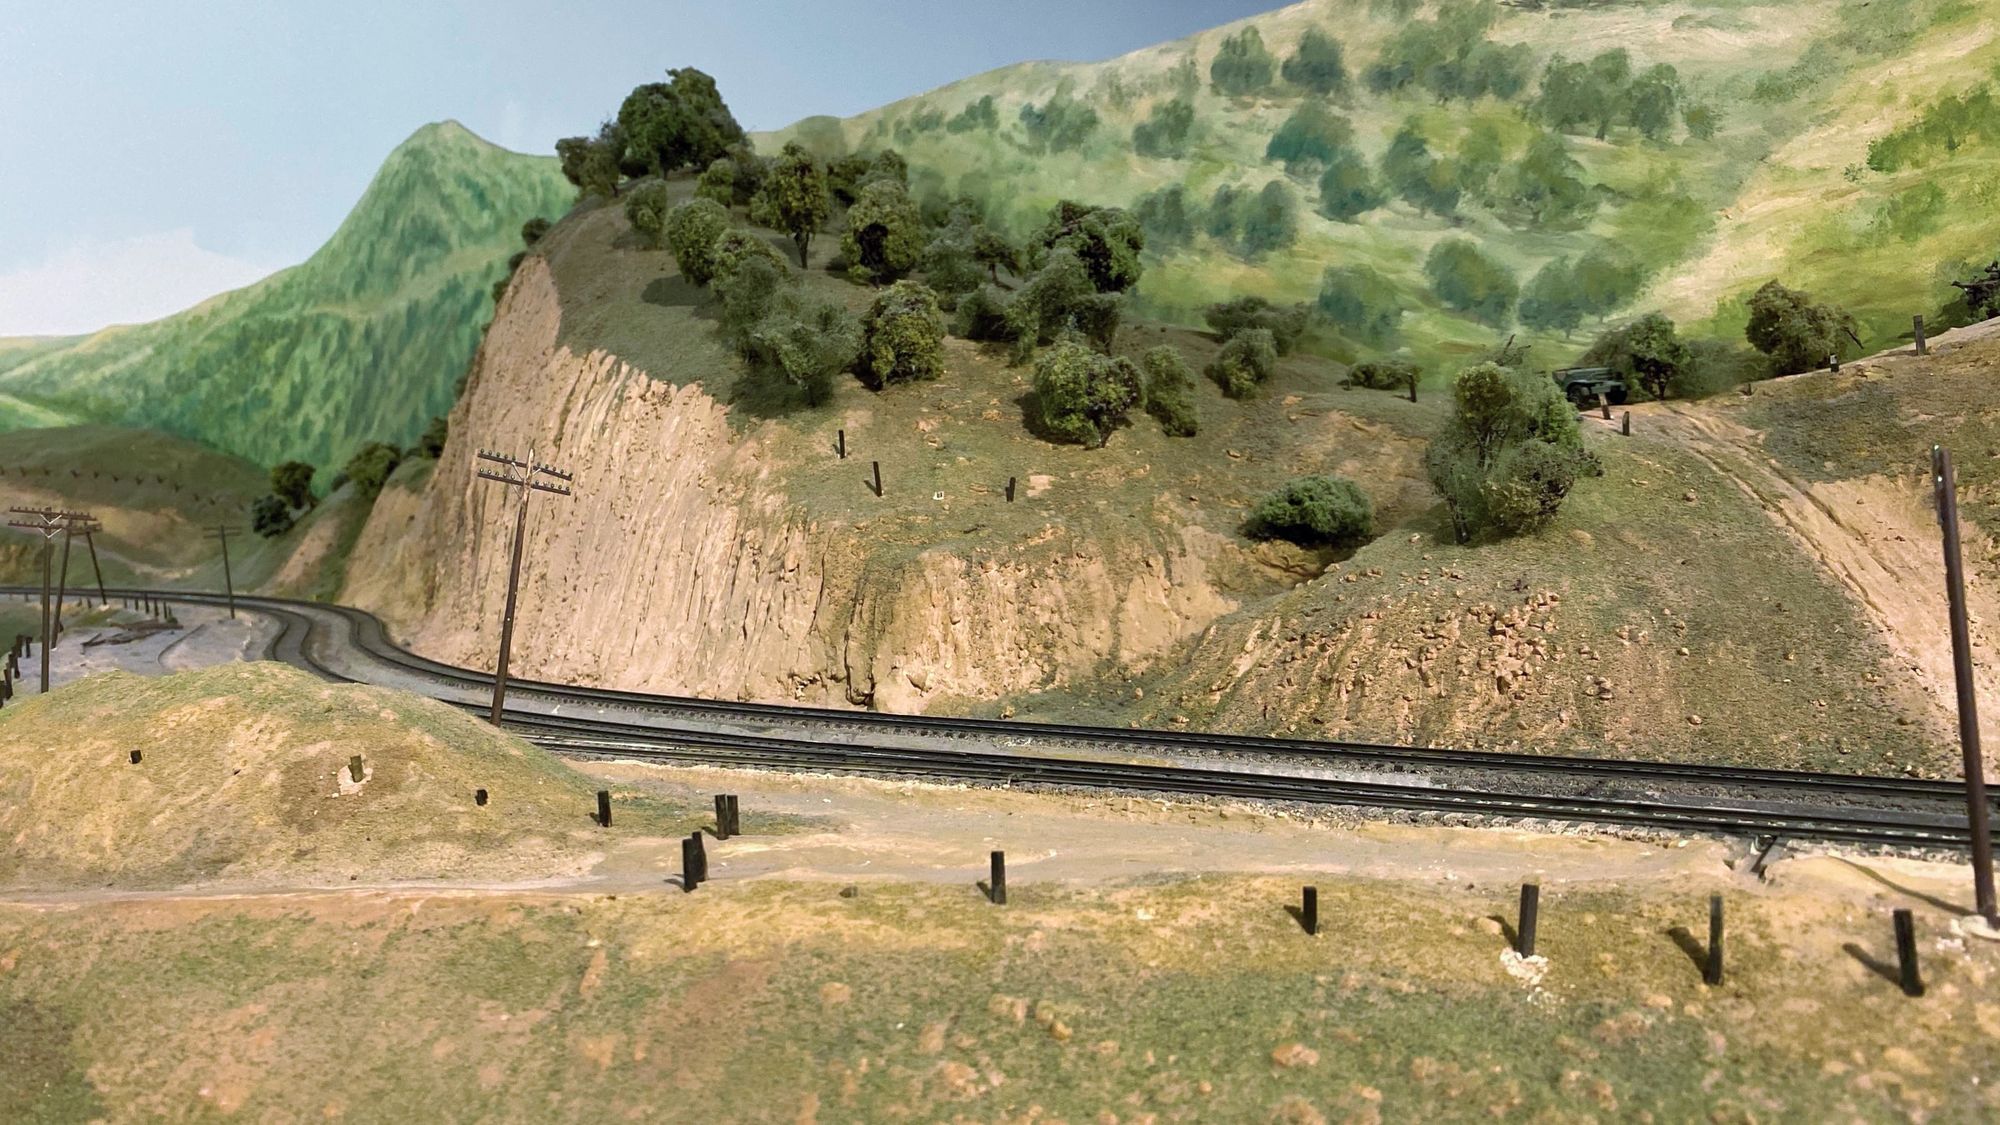
Once you have a fully dry papier mache structure, you can start to think about applying a finish to it. One of the most popular finishes in model scenery building is using static grass. This is particularly relevant for building grassy hills on a model railway layout that look realistic.

There are a few methods you can use to apply static grass to papier mache. The easiest one for beginners is by using a static grass applicator. We'll link our guide to static grass applicators for more information and advice. Essentially, you can simply apply PVA glue directly to the paper mache surface and then use an applicator to apply the static grass on top of this. The results from this method can be extremely realistic - hills and mountains are able to have thick, quality grass that will greatly contribute to the overall asthetic of your model scenery.
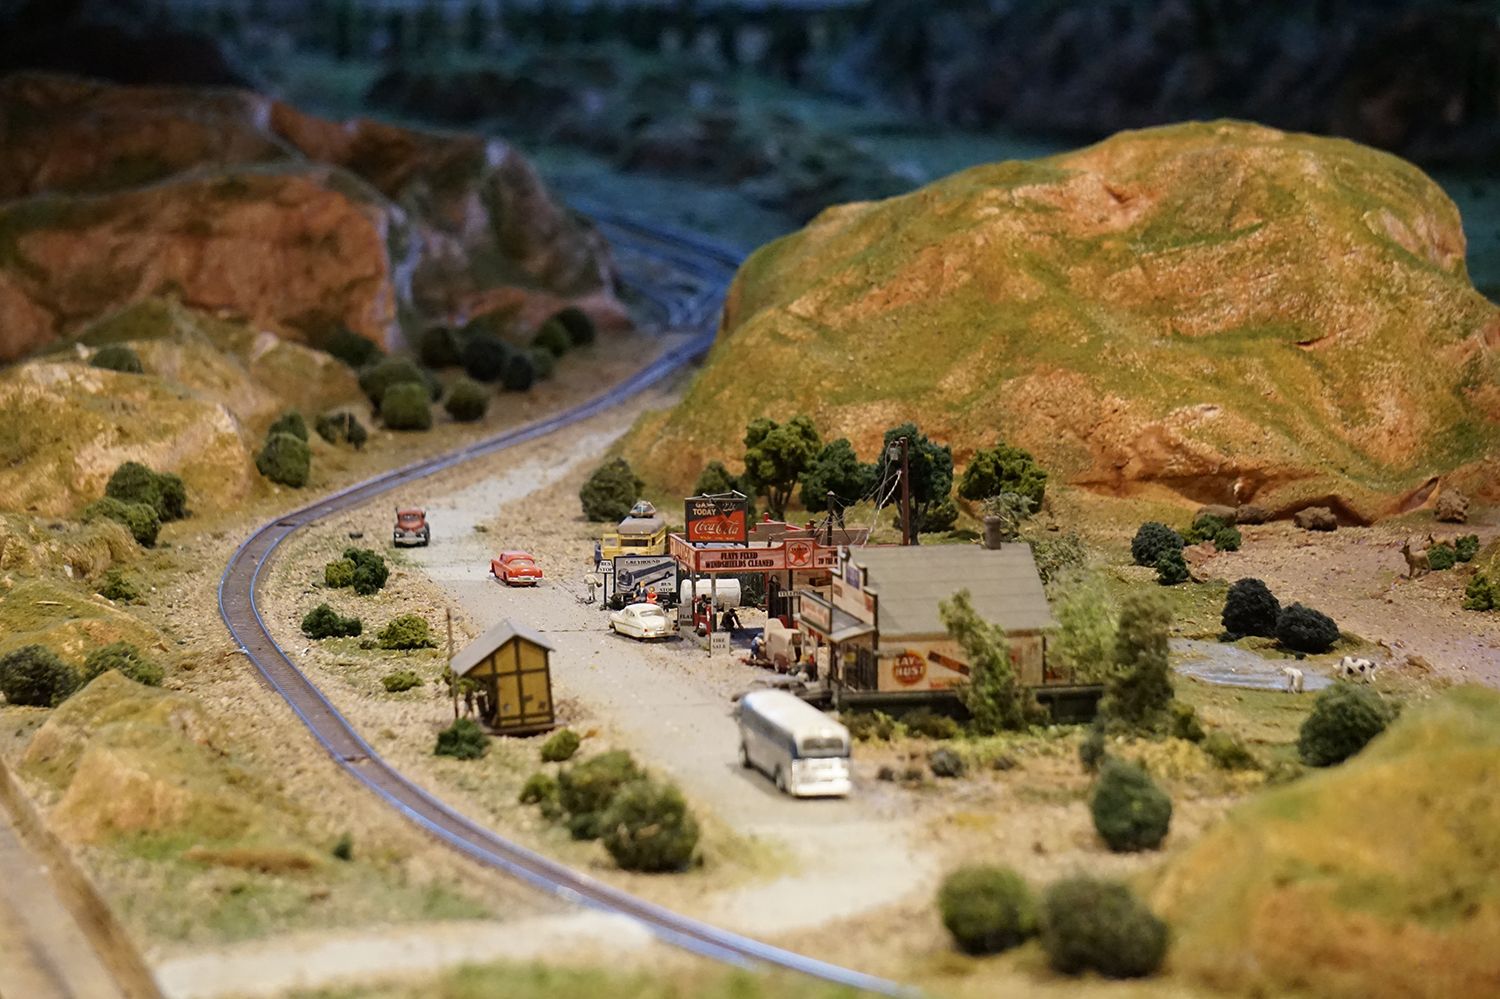
Other popular finishes for papier mache are using scatter or simply painting it with a brush to achieve the desired scenery effect. There are many options for using papier mache to make model hills and lanscapes.
Conclusion
The basic recipe for producing papier mâché for model train scenery is using water, white PVA glue, and flour in a 2:1:0.5 ratio to create a mixture.
Take some paper strips, dip these in the mixture and apply them to the base structure. Once you've achieved the desired shape and are happy with the way it looks, allow the whole thing to dry for up to one day.
You're then free to apply any finish that you'd like - e.g. static grass.
This method can also be used for wargaming boards or other hobbies where model scenery is a key part.
Check out the other articles in our scenery series for more tips and techniques for producing realistic model scenery that can be applied to a number of train layouts and boards.